
Wasawaipata : Pumpkin ‘pie’
This recipe is a reimagining of the contemporary concept of what we know as a “pumpkin pie” using old techniques many of our ancestors undoubtedly used to cure, preserve and cook hard fruits and squashes.
In my cooking I use decolonial ingredients as much as possible, in recognition that Native people shared vastly intricate trade routes from north to south, and east to west of turtle island.
Our ancestors may have not had each of these ingredients or tools available to them in one place, but when ever possible I try to keep my cooking free of cow’s dairy, refined white sugar or gluten (and in general ingredients that are highly refined) while also choosing locally available ingredients that are also Native to Turtle Island.
That doesn’t happen 100% of the time, but I do my best, and I feel much better when I do.
This recipe was dreamed forth from such inspirations and is bound to bring big smiles to any holiday table.
It is deceptively simple but the curing process does take some time and must be achieved in a certain order of steps.
Most of your prep time is spent passive. During this time tending to your pumpkin continuously isn’t necessary, but you will check in and perform a next step about every 30 minutes to and hour in between. In the end, it’s so worth it!
Wasawaipata : Pumpkin ‘pie’
Prep time : 2-4 hours
Cook time: 1 hour
Servings : 4-6 (relative to the size of your pumpkin)
There are two sections to this recipe:
The Filling
The Pumpkin Shell “Crust”
Ingredients:
The Filling
1 15-ounce can pumpkin puree
3/4 cup maple sugar (or light brown sugar)
1/2 cup nut milk of choice
2 large eggs
1 teaspoon cinnamon
1 teaspoon pumpkin pie spice
1/2 teaspoon coarse salt
The Pumpkin Shell
1 large pie pumpkin
4 tbs course salt
4 tbs maple sugar (or light brown sugar)
1 lime (or lemon)
4 tbs cinnamon
3 tbs pure maple syrup
1 teaspoon pumpkin pie spice
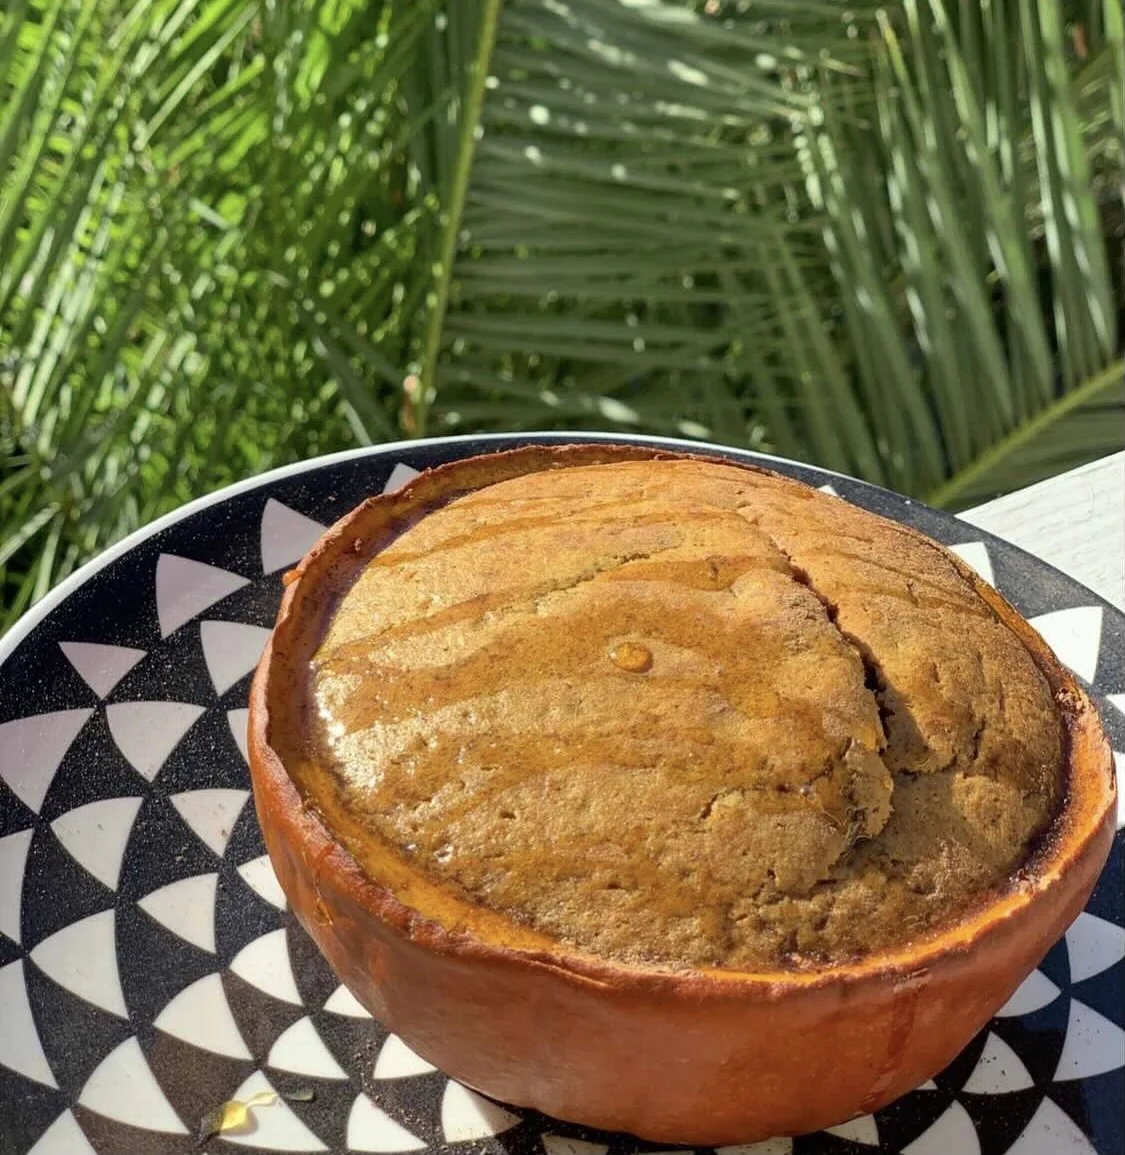
I had made pumpkin pies in plain pumpkin shells in the past, and they were alright, but the shell left something to be desired.
Like this pie that came out beautiful, with a delicious filling but the shell was too thick. It was not soft enough and not the rich or flavorful contrast were used to when it comes to what we expect in a pie
I asked myself, how can I break down and flavor the pumpkin shell before I bake it with the pie filling?
I had also been day dreaming about making a pumpkin pie filling in the shell of a pumpkin, with an ornately carved top to the pumpkin that was also part of the dessert.
This was my first attempt, and it came out amazingly.
Wasawaipata
Wasawaipata
Part one: mix your filling
In a large bowl, mix all filling ingredients with an electric mixer, or whisk, until smooth. Set aside in a cool dry place.
Part two: Prepare your pumpkin shell
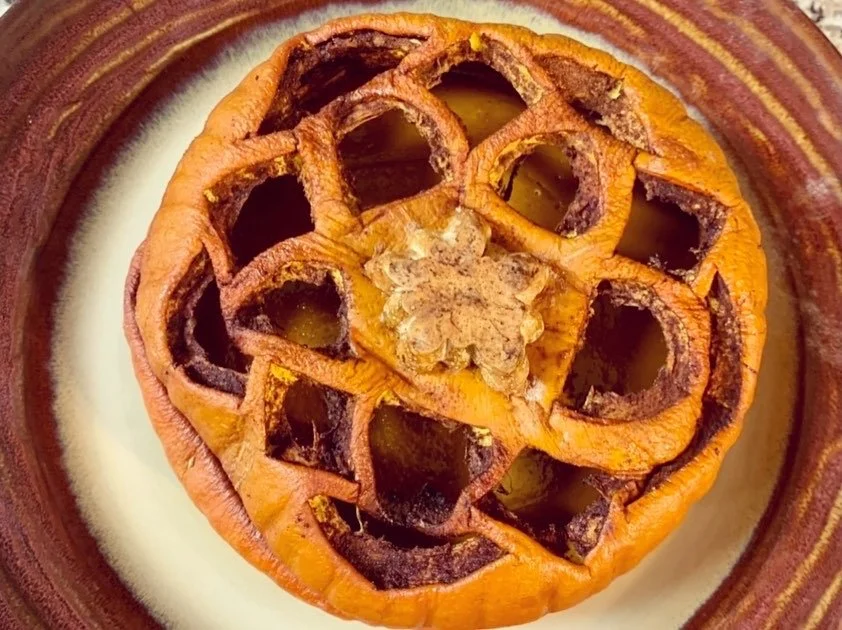
Step 1: Carve the top half of your pumpkin.
Take a look at your pie pumpkin ad decide on a design for the top half. Mark the design into the pumpkin with a fine dulled object like a tooth pick before cutting.
Take care to leave all sections connected by a thick piece connecting the pattern. So that it is sturdy. I went with a simple flower like design.
Carve out the design with the smallest knife you have available.
Small pumpkin carving tools would be ideal!
Step 2: Cut your pumpkin into two halves, horizontally.
Using the same technique as step 1. Use a toothpick first to mark your line. Then cut your pumpkin in half all the way around. Make sure that center cut is as level as possible all the way around. Cut the connecting pulp stings and remove the top carefully.
Step 3: Scoop out all the insides, seeds, and pulp of the pumpkin both top and bottom.
Step 4: Using a metal spoon, scrape and scoop out as much pumpkin meat as possible of the bottom half only. Leaving a thin even layer to act as the “crust” of the pie.
Step 5: Run all cut surfaces of the pumpkin with a cut lime, covering all exposed sections with lime juice.
In a perfect world I would use sumac as a source of citric acid here, but I didn’t have sumac available and I’ve also been taught to use what you have!
The acid is necessary to stop oxidation while we partially dry and dehydrate the pumpkin. The citric acid of a lime or lemon is an accessible form of this.
Step 6: Salt your pumpkin.
Cover all cut edges, including the entire inside of the pumpkin shell with a very generous layer of salt. Make sure all exposed cut edges and inside of pumpkin are evenly covered.
Set the pumpkin halves aside (cut side down) on clean kitchen towels, in a cool dry place.
The salt and acid will go to work pulling the liquid out from the cells.
Let sit 30 minutes - check your towels and if they are saturated, switch them out for dry towels.
Return the pumpkin halves cut side down.
Let sit another 30 minutes.
They should be getting softer and a losing a lot of liquid.
Step 7: Add a layer of sugar.
On top of the salt add a layer of sugar. If necessary change out your towels again, and return pumpkin half’s to sit cut side down for another 30 minutes.
Step 8: Add a layer of spice mixture.
Cover all exposed cut edges and inside of your pumpkin halves with a pretty think layer of ground cinnamon, pumpkin spice mix and remaining sugar.
(You can run your sugar and spices through a coffee grinder first for a more fine coating here!)
Step 9: Turn your oven on to 240 degrees. Brush both pumpkin halves with maple syrup. Place pumpkin halves into your oven on a baking tray and let them cook on low for one hour.
Step 10: Bake your pie.
Remove pumpkin halves from the warm oven carefully.
Turn your oven temperature up to 350 degrees.
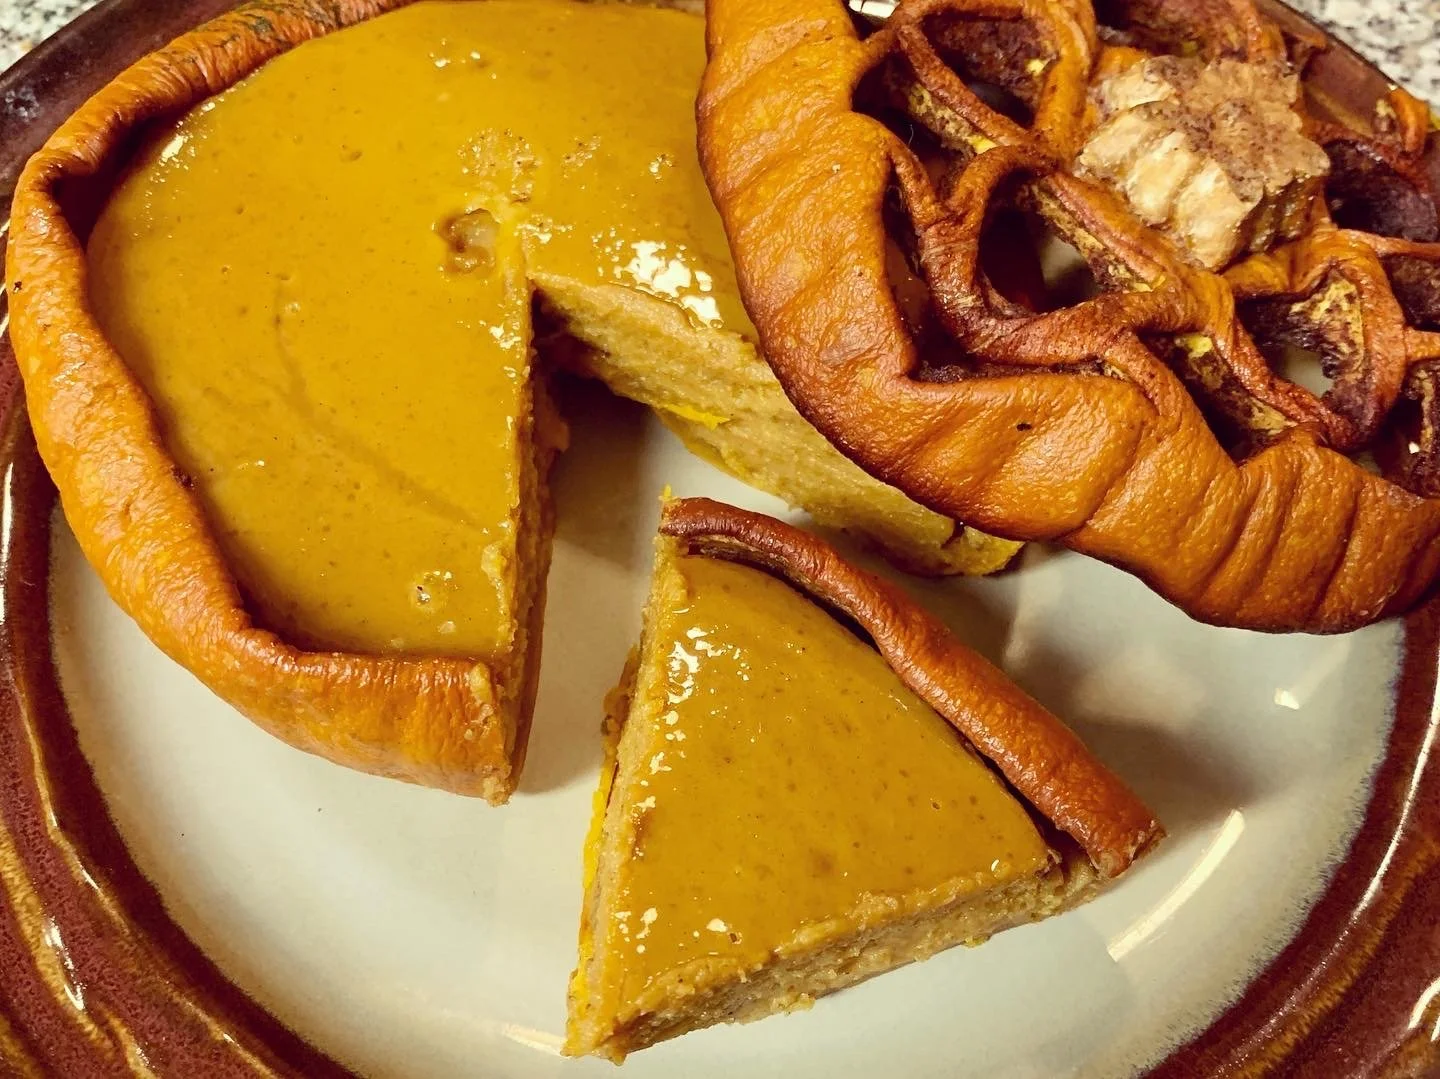
Fill the bottom half with the prepared pumpkin pie filling.
Do not fill the shell all the way to the top. Leave a half inch of room at the top because that filling will expand up.
Return baking sheet with both halves, including the bottom half filled to the oven.
Bake for one hour or until the center is set and your shell is tender.
It should still hold its shape.
Step 11: Set in refrigerator
Remove the pie from the oven and put both halves into the fridge for a minimum of two hours or overnight.
Serve chilled or room temperature.
When I took this pie out of the oven, I thought to myself “maybe it’s just pretty and we eat the center out with a spoon.”
I had no idea how amazing it would be! When I first bit into the top of the shell it was so good I almost cried a little. It was so special. I was so proud of myself and so happy that this idea had worked so well.
In the western Abenaki language, we say pumpkin pie “Wasawaipata”
I will absolutely be making this again!
Author, recipe and photos by: Aerin Stack
Instagram: @earth.medicine.mother
All rights reserved Erin Stack © 2022

